

Getting Started
To gain access to ParticleOne Contact Us.
Login Instructions
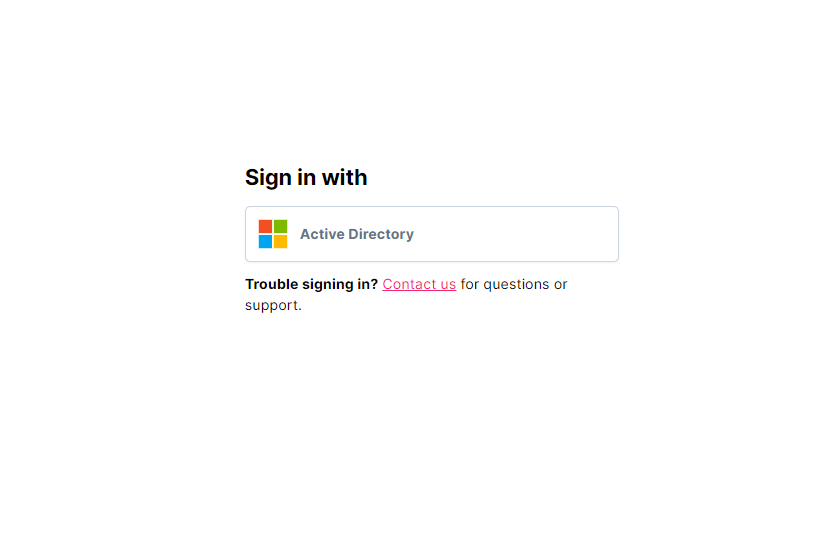
Go to https://app.particleone.com and click Active Directory.
Enter your Microsoft credentials to log in.
Portfolio Dashboard
Once you have entered the site, your Portfolio Dashboard will appear.
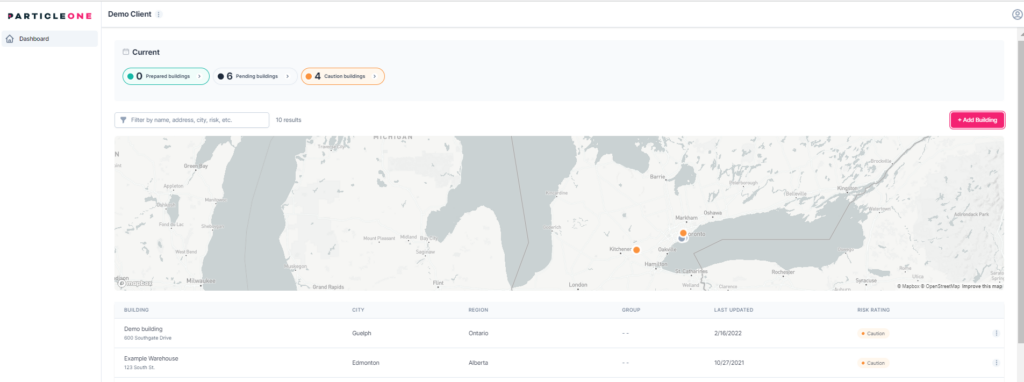
From the Portfolio Dashboard you will be able to:
- View your portfolio, including all of the buildings you have access to
- View the status of all buildings
- Filter buildings by name, address, city, etc.
- Add a new building
Add a Building
To add a new building to ParticleOne, begin by clicking

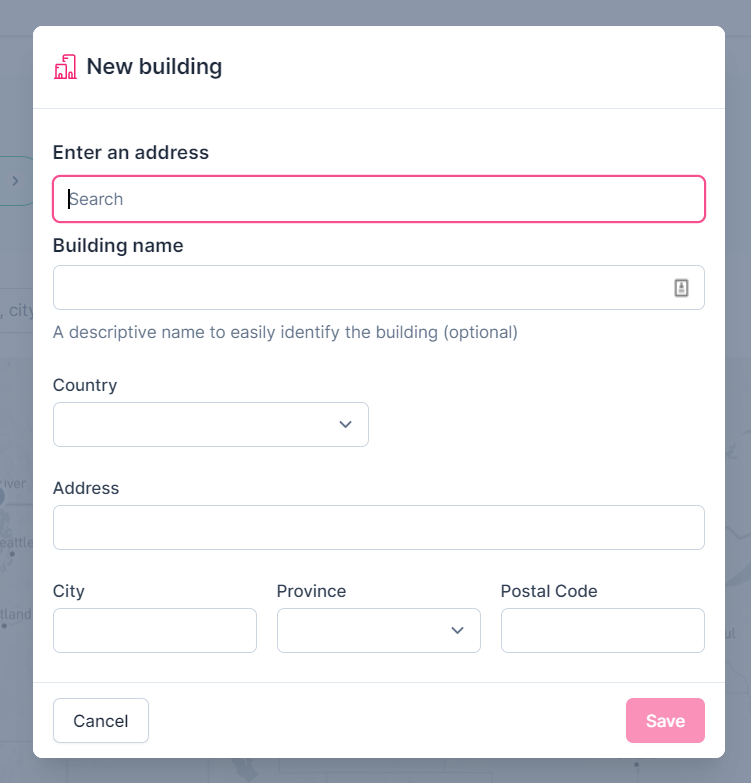
A pop-up screen will appear, asking for specific information about your building. Fill in all of the required fields, then click save.
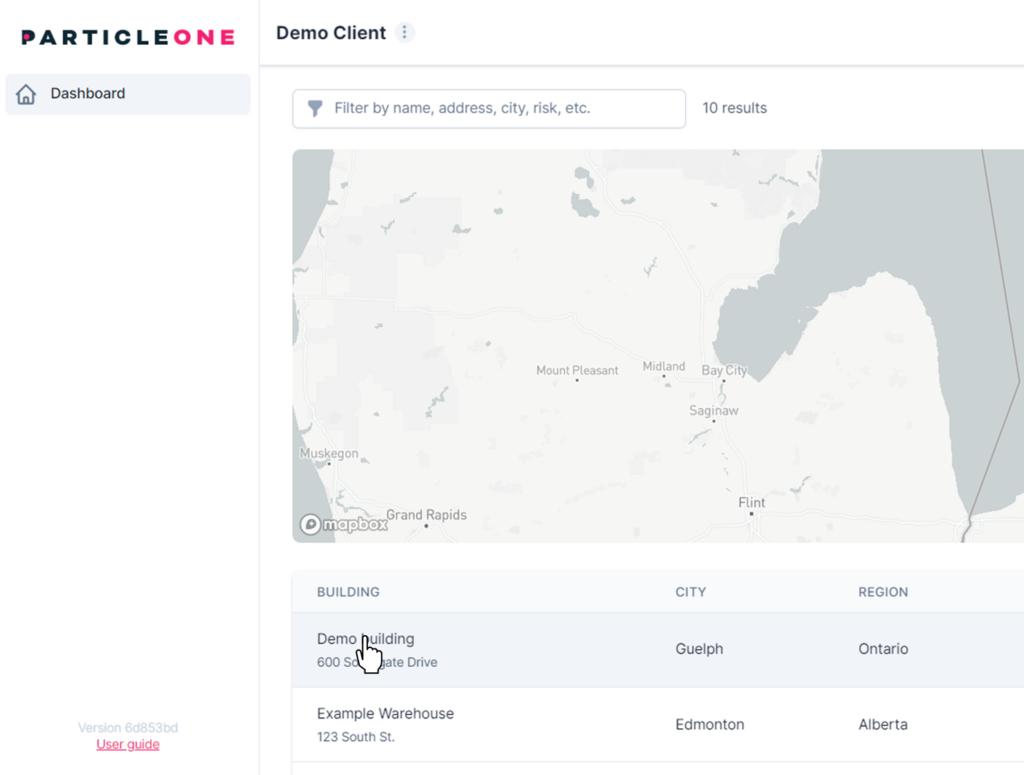
Once the new building has been saved, click on its name to open the dashboard for that specific building:
Building Dashboard
Once you have clicked on the building name, your building dashboard will appear:
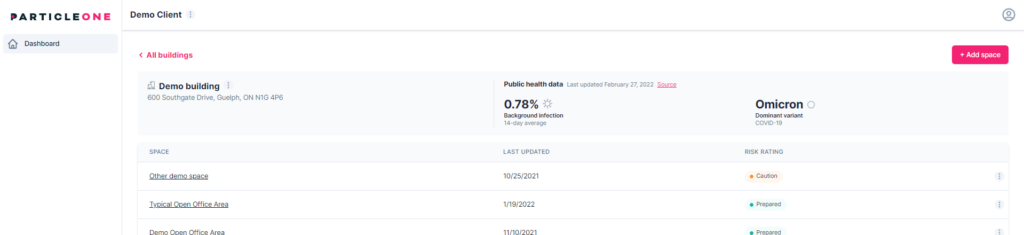
From the building dashboard you can:
- View all of the building’s information
- View case counts for specific viruses based on the building’s location
- View all spaces, when they were last updated, and current risk ratings for each
- Add, edit, or delete a space
Add a Space
To add a new space to ParticleOne, begin by clicking:

A new page will appear to begin the process for adding a new space:
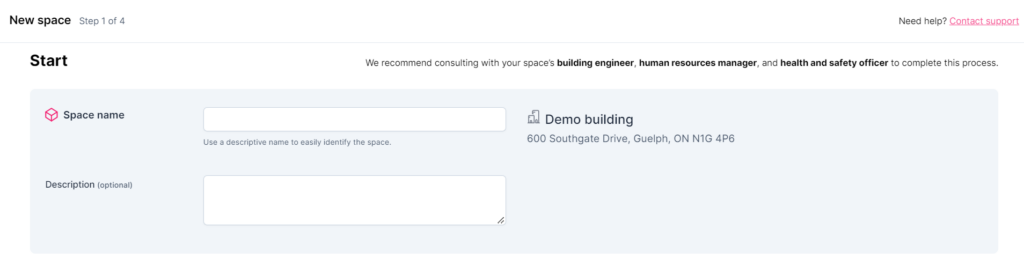
It is recommended to consult with the space’s building engineer, human resources manager, and health and safety officer to complete this process.
Four steps to complete before you can submit a space for simulation:
- Name the space and add a description (optional)
- Input information about the type and layout of the space
- Input information about the occupants in the space
- Input details about the space’s building performance

Learn More: During each step, short descriptions accompany each input field. Some include a Learn More hyperlink, which provides additional information when clicked.
Once all four steps have been completed, you will see an overview of the space details. Review your inputs and confirm that they are correct.
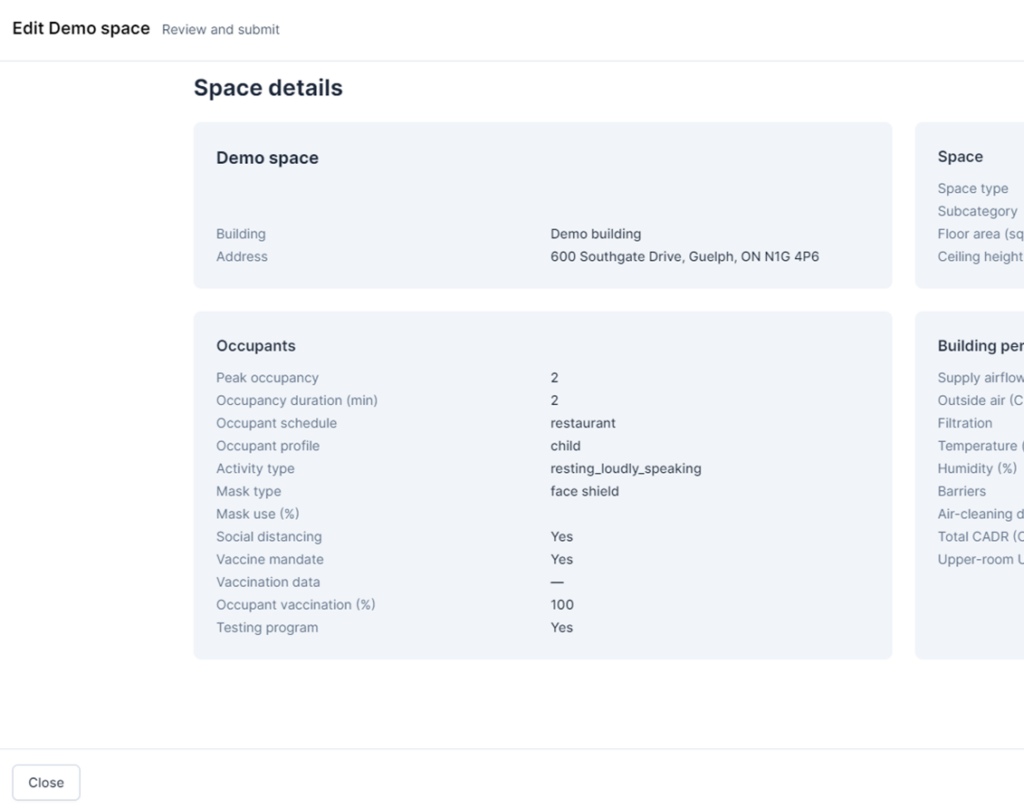
To make any edits, click the Back button. Once the inputs are confirmed, click Submit. This will trigger a new simulation request for the space.
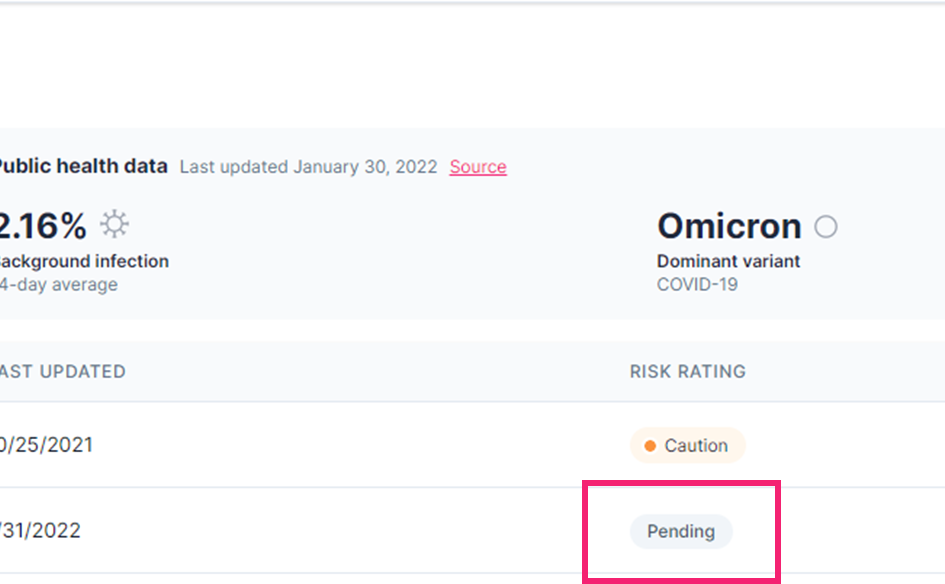
The software will return you to your Building Dashboard, where you will see your new Space added. A status of Pending will appear until the simulation is complete (typically 48 hours).
Space Dashboard
Once your simulation is complete, you can review its results on that space’s dashboard:
From the specific space’s dashboard you will be able to:
- View a summary of the space details
- View specific viruses that this space has been modeled against
- View the 12-month case count trends for these specific viruses based on your space’s location
- View the current risk rating for the space and the Risk Index graph
- View the current configurations for the space and alternate configuration options
- Navigate and analyze various configurations using the parallel-coordinates plot (under the Simulations tab)
- Add or swap configurations using configuration ID codes
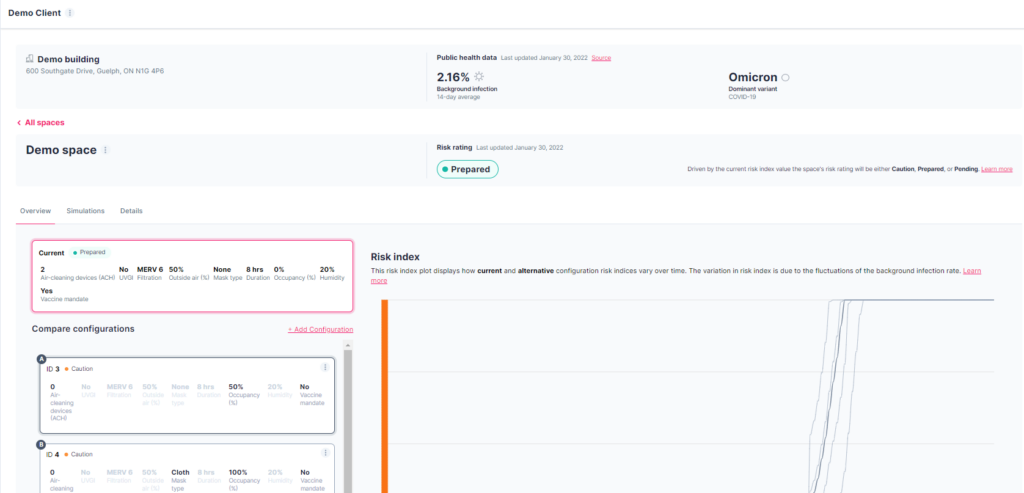
The Overview Tab
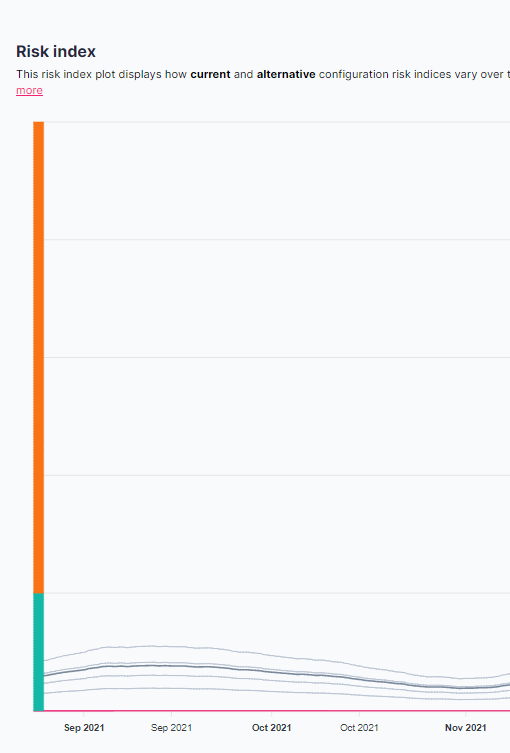
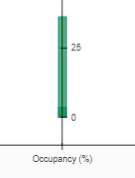
The Risk Index graph shows the current configuration (pink line) of the space as well as alternate configuration options.
The vertical axis shows risk-level ranges. Green represents Prepared and orange represents Caution.
The horizontal axis represents how the risk for that specific configuration of the space has varied over time.
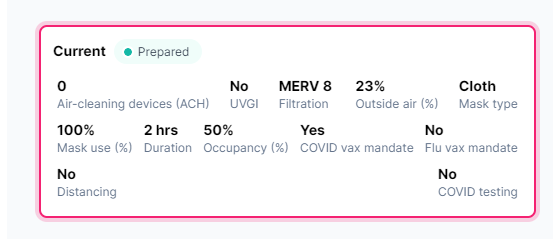
The current configuration details are listed in the top card (pink border), which corresponds with the pink line on the Risk Index graph.
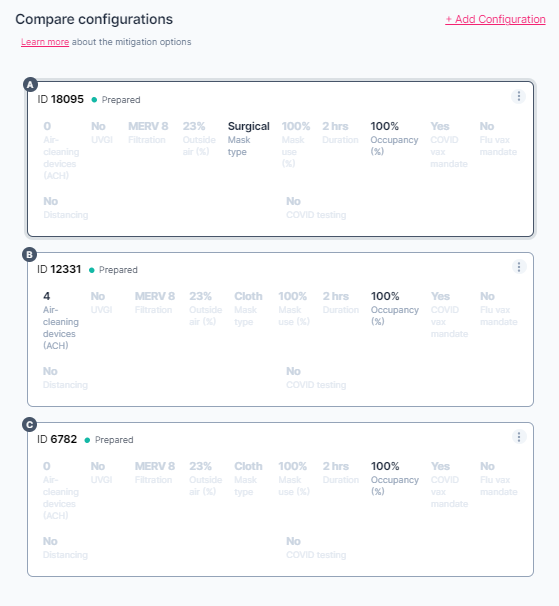
Alternative configurations are listed under the current card.
You can add new configurations by clicking +Add Configurations. (Note: Use the Simulations tab to view new configurations and copy IDs.)
The Simulations Tab
At the top of the Simulations tab is the parallel-coordinates plot.
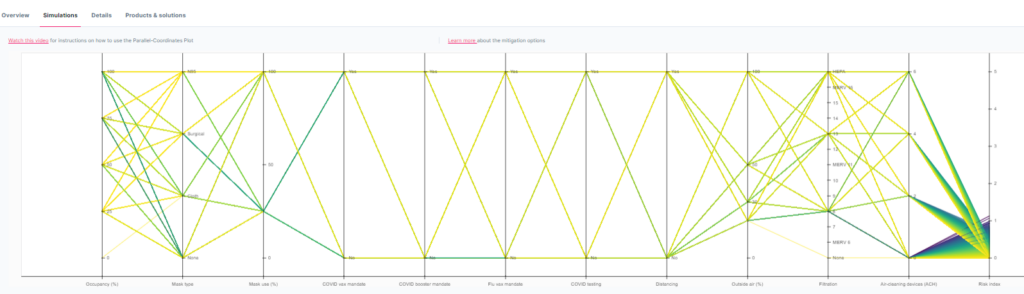
The parallel-coordinates plot displays thousands of simulations for how a specific space can be configured to reduce its risk.
You can also use the parallel-coordinates plot to build your own configurations or test options. Once a “new” configuration option is found for the space, it can be added on the Overview tab for that space.
How to Read
The horizontal axis lists the different mitigation options. The vertical axis lists the different options within that mitigation category. For example, the vertical axis for occupancy shows percentages from 0 to 100. The filtration option lists filter types from “none” up to “HEPA.”
The last vertical axis, on the far-right side of the graph, is the Risk Index. This is where the line ends for each configuration of various mitigation options.
The Risk Index number, between 0 and 5, is based on the computation of the various mitigation options and each level or option that you have selected within that category.
The table below the parallel-coordinates plot reflects all the different configurations shown on the graph.
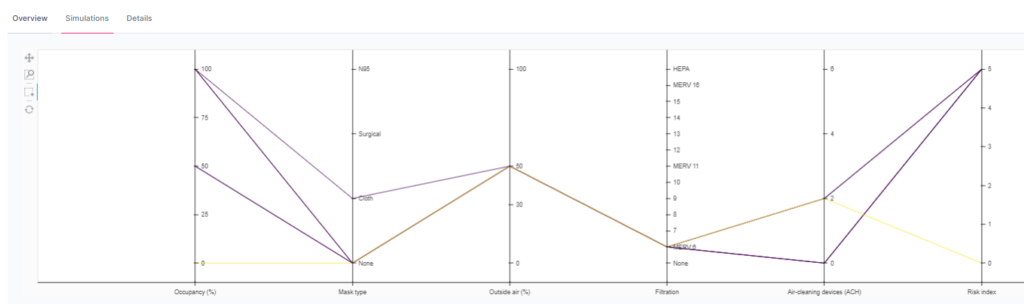
How to Use
To use and adjust the parallel-coordinates plot:
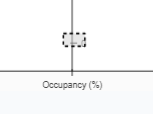
Start by hovering your mouse over the existing level or option on the vertical axis line for the mitigation option you wish to adjust.
Then left click and drag your mouse along the line to the new mitigation level or option that you want to consider.
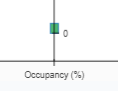
This will create a small box that will collapse onto the point, locking it into place.
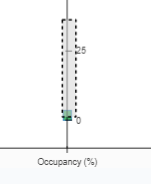
You can also select a range of desired mitigation levels, by clicking and dragging your mouse along the vertical axis.
To deselect a mitigation level/option, double-click on the selected area.
To reset the entire parallel-coordinates plot, click “ESC” on your keyboard.
When you select certain mitigation levels or ranges, the parallel-coordinates plot will produce lines that represent each possible configuration of mitigations for that space.
If you highlight your desired mitigation levels/options for a space but no lines appear across the graph, this indicates that there are no configurations available with those selected levels/options.
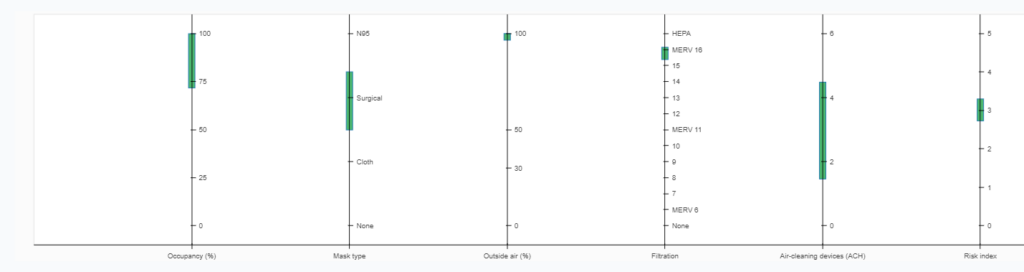
Each line on the parallel-coordinate plot represents a configuration that correlates with the mitigation configurations listed in the table below the plot.
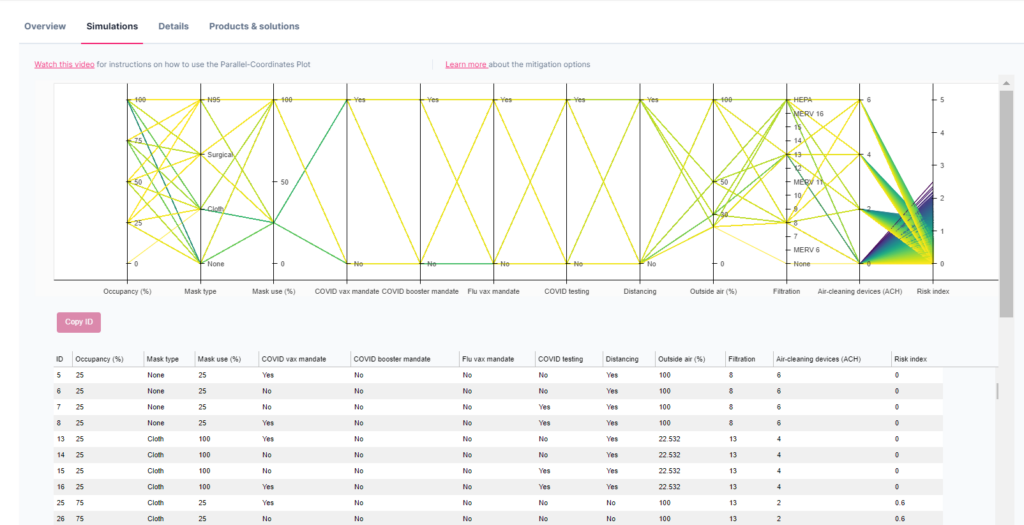
When you select a configuration on the table, it will appear in pink on the plot.
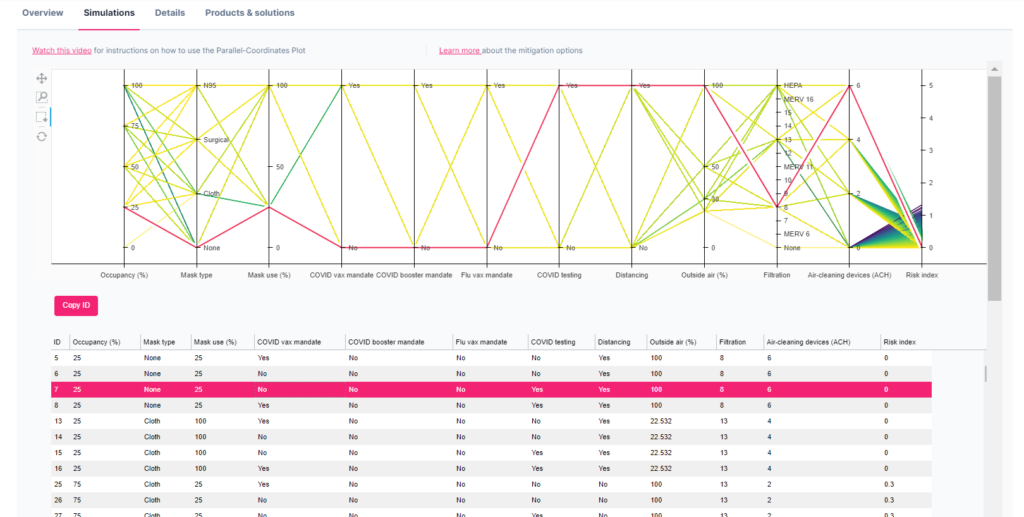
Once you have selected the configuration that you would like to include, click the Copy ID button.

Then return to the Overview Tab and click the +Add Configuration hyperlink.
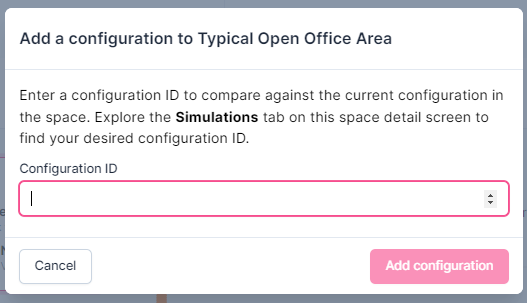
Once you click on +Add Configuration, a pop-up window will appear. Paste the configuration ID that you copied from the previous simulations tab. Then click the pink “Add configuration” button.
The Details Tab
In the Details tab, the space details are shown. This is the information that you entered during the four-step process of adding a space.
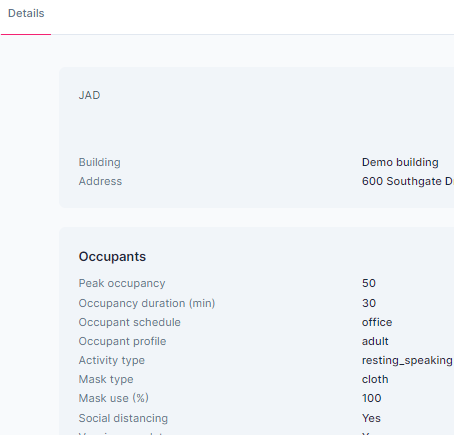
To make edits or delete a space, you will need to return to the building dashboard.